Tuesday, July 27, 2010

sneak peak

after a few weekends and evenings of prepping and priming, we were able to get a coat on 3/4 of the house last night. yipee. goodbye pink. here's a sneak peak a la mobile pic (not the greatest quality - sorry).


the color is a dark grey-green. we were having some issues with our go-to paint place (ecohaus), so we decided to attempt a color match of yolo colorhouse's "desert 6" at home depot. we ended up saving a boatload of cash and are pretty pleased with the color. but then again, we realize that anything may be better than puke pink. more details to come!

Thursday, June 17, 2010

kitchen update

quick post here as we run out the door. the kitchen is coming along swimmingly. a couple weeks back, we decided to start renovating on the cheap. after a very successful trip to earthwise salvage yard, we came home with tons of cedar shelves from the old elliott bay book store. sidebar: pioneer square's loss is definitely pike/pine's gain. it's so close to us now and a neat space. yipee!

the new elliott bay

so, here we begin with a relatively blank slate, after removing some ridiculously dinky cabinets that had no place in the house.

pre-paint
we went with yolo colorhouse (stone 6) - available at ecohaus

the shelves go up
the brackets are "L" braces
we like the semi-industrial/unfinished vibe they give off.

full shelves!

brian utilizing the new chalkboard space

farmers market poster wall

so that's it for now. we desperately need a new light fixture, have to put up crown moulding. oh, and refinish the wood floors we discovered resting underneath a layer of vinyl and plywood.

Wednesday, April 28, 2010

yard work

serious blog re-invigoration this week. it seems that when you spend a lot of time working on house projects, sitting around is more rewarding than harnessing the interweb to rehash what you just did. on that note, check out our companion garden blog for a look at what's been going on outside the house.

say hello to our little friend:
gus the garden gnome, nestled amongst the herbs

Sunday, April 25, 2010

Enter Here 2.0

So you’ll recall that Allie posted an entry in January displaying our valiant efforts to update the entry way…well, this past weekend we finally finished! Here’s what happened between January and now...


The floors


We were amazed to find out that the floors underneath the vinyl tiles were actually the same wood throughout the entire house. Why we didn’t really think that one through initially is beyond us, but we took the time to strip, sand down and put a new coat of sealer on the beautiful fir floors.


The walls


Ugh, I hate drywalling…maybe what I really hated was drywalling in such an incredibly small space. Anyway, in the previous post we had just finished putting up the new drywall. Over the next month I taped it and filled all of the holes.


What I don’t have is a good photo of the taping or texturing process. The taping was tedious and seriously took me days to complete. The texturing process was worse, although it was quick, it was disgusting. We sealed the entry way and bought a few of the spray texture bottles and proceeded to spray the ceiling and walls. In such a small space, the fumes overtook me and I got pretty sick. But I think I’ve recovered a bit.


Enough complaining. With the texturing done, we painted the walls a lovely green.


It then sat like this for about a month while waited for our new door to arrive. Once that arrived we had to seal it and wait another couple of weeks until we were ready to install it.


Here’s a before view of the door:


My coworker’s husband, Larry helped me install it while Allie was away for work.


Larry was very helpful and the door was installed in no time at all.


Finally, we decided we couldn’t stand it anymore and made a mad dash to complete the entry way. We put wainscoting, some nice trim and edging, and some creative knobs purchased from a second use store.


Note the orangish, red bench…Allie and I made that from scratch and our own know how.

Sunday, March 14, 2010

I don't like spiders

So I did something this weekend that I've been dreading for a long time. I crawled through the crawl space to the far end of the house to affix a piece of plywood over a vent that's been disconnected. Our cats have discovered how to remove the vent cover and get down into the crawl space so this problem needed to be solved.

I don't know why I chose this weekend to undertake this task, but I did. I decked myself in all sorts of clothing, not know what exactly I'd find. I took a light and some tools to the far end of the house, crawling on my hands and knees.

I saw some interesting things...the base of our fireplace is a triangle - I'm kind of surprised by this for some reason. I found some dried up cat (or Opossum or Raccoon?) feces, and I found a hell of a lot of junk.

What I did not expect to find greeted me shortly after finding the spot I was going to attach the plywood. I laid down on my back and was facing up so I could screen the board in place and I noticed a little spider a few inches to the right of the board. It was very well lit and I noticed that it had a few little red dots on its back, oh and some of the dots actually made an hourglass! I quickly determined that it was a black widow (I'm a bit of an arachnophobe, so I know my species), but it was a bit more brown than I had expected, but I'm sure it was one.

The first thing I thought was...hmm, I should kill it since it's about eighteen inches away from my face. So I took my board and jammed it up at him, but I missed, he was in a little crevice, so I think I just irritated him more than anything else. He moved around a little bit, but didn't come out much further...thank god. I decided that I wanted to just get this over with, so I quickly screwed the board in place and got the hell out of there.

A short time later our neighbor stopped by and I mentioned that I had just been in the basement and saw what I thought was a black widow. He quickly mentioned, oh yeah, I've seen a lot of them out here, and you know it's surprising, because the type you find in Washington tend to be more brown! That's when I knew it was my arch-nemesis.

Anyway, I didn't take a photo while I was doing there - should have, but then again, I didn't want to be down there, nor do I really want to remember it.

Thursday, February 18, 2010

living room 2.0

the lovely before/during shot.

so we finally managed to put up crown moulding in the living room. it required a trip to lowe's, truck rental (12 ft pieces just won't fit in the jetta, unfortunately), and some patient painting to get all the detailed dental work in the moulding covered. painful, but worth it in the end. the room looks much more finished. it only took us a few months to do it...after we did the dining room and bathroom. just the bedrooms, mini hallway, and entryway to go. and then, when we eventually tackle the kitchen, there will be that. but today, we are victorious. we have accomplished the many awkward angles and uneven walls of the living room!

brian handily nails in some moulding above the bay window.

and the fun job of caulking. oh it's fun.
so much so that i appear to be flipping off the moulding.


Tuesday, January 19, 2010

a bench built for two


thanks to the extreme carpentry skills of brian's mom's cousin dave, we are now the proud owners of a a lovely bench. house builder by day, bench builder by night, dave handily built us some awesome new seating for our porch. farewell, lawn chairs! (they've at least been set aside in the basement, until actually needed come summertime).

here it is hanging out in dave's shop.
no nails - he notched out all the fittings
(ok, that's not technical carpentry language)
and even pre-drilled some holes for us.

not only is the bench aesthetically pleasing, but it is also environmentally awesome. it's made of salvaged redwood from the old deck railing at the lubansky's montana home. dave planed the wood, designed the bench, dry-fit all the pieces, and showed us how to assemble it while we were in the bitterroot over christmas. yeah, he knew it wouldn't be able to fit into the jetta as a complete project. so we put it together when we got home and have been enjoying it ever since.

thanks dave!

our creative use of climbing rope to clamp the pieces together.

yeah, it really shines against the pink back drop.

Monday, January 18, 2010

enter here


so, we decided to take apart the entryway. and apparently, we shall slowly rebuild it. here's how it went down.

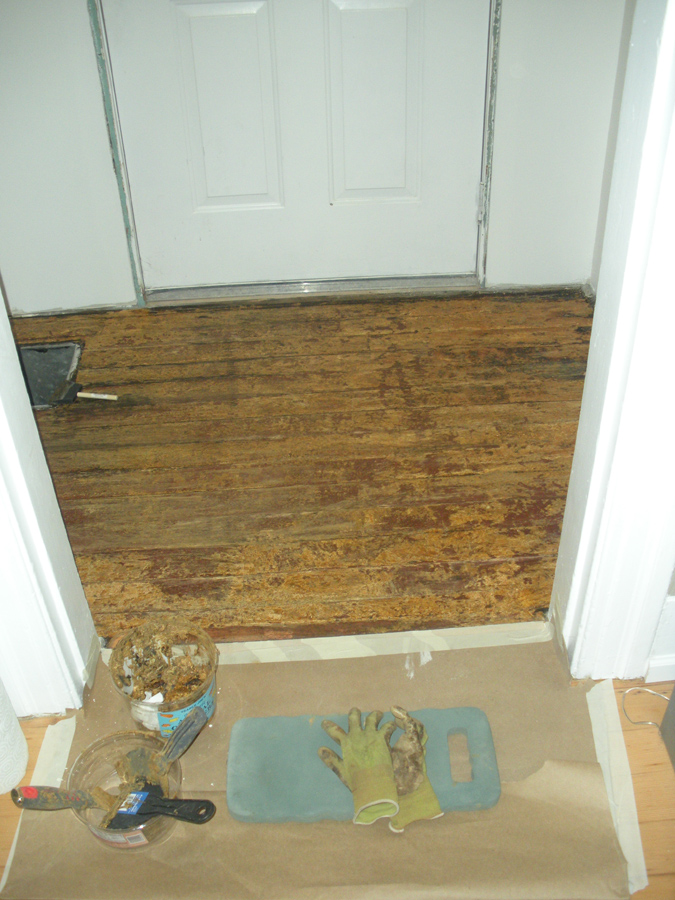
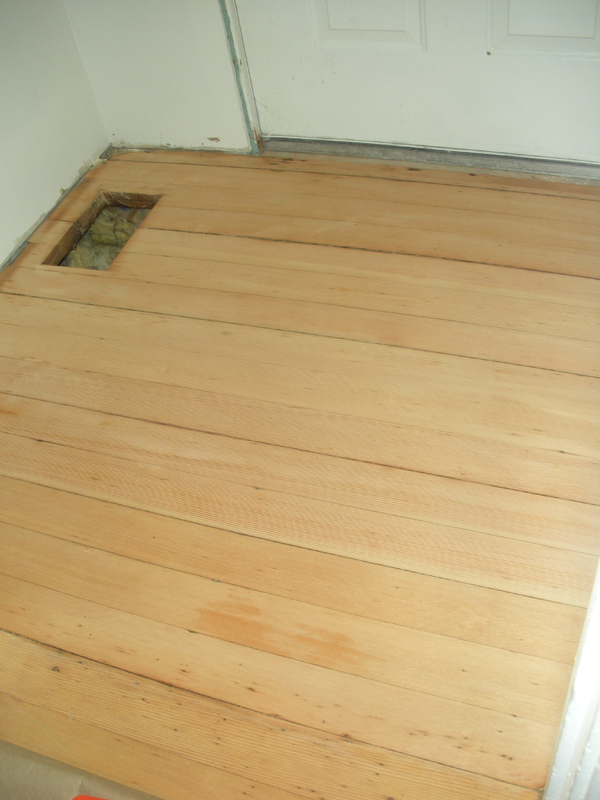
friday evening while hanging out in front of the television, a conversation about what to do with our weekend sparks up. oh, i know, we could get to work on the entryway. we could rent the truck at lowes, buy up some sheetrock and crown moulding (another household-wide side project). we can totally do this. let's start by prying up the vinyl tiles. ps - original wood floor under there! this was an exciting, yet frustrating find...as we assumed our refinishing adventures were over. now, we're hopeful of what may lie underneath the disgusting kitchen floor tiles.

mmm - varnish. look at the bright side,
at least it has likely protected the floors for the past 100+ years.

saturday morning, we headed to lowes and picked up the goods, then got to work deconstructing the little entryway. enter plumes of plaster dust.

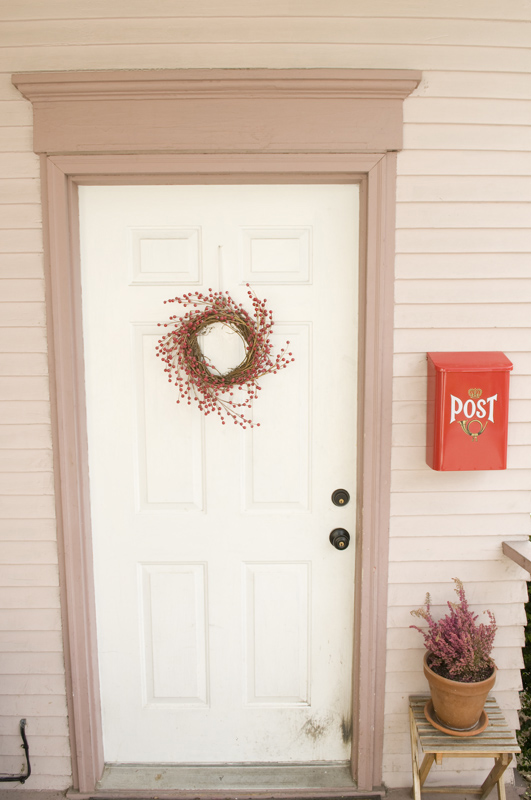
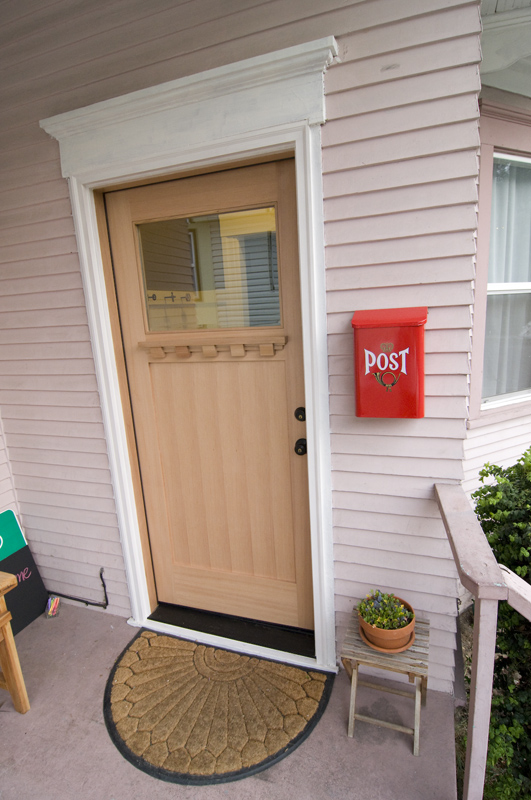
green plaster, slats, and the door that we hate, but have yet to replace.

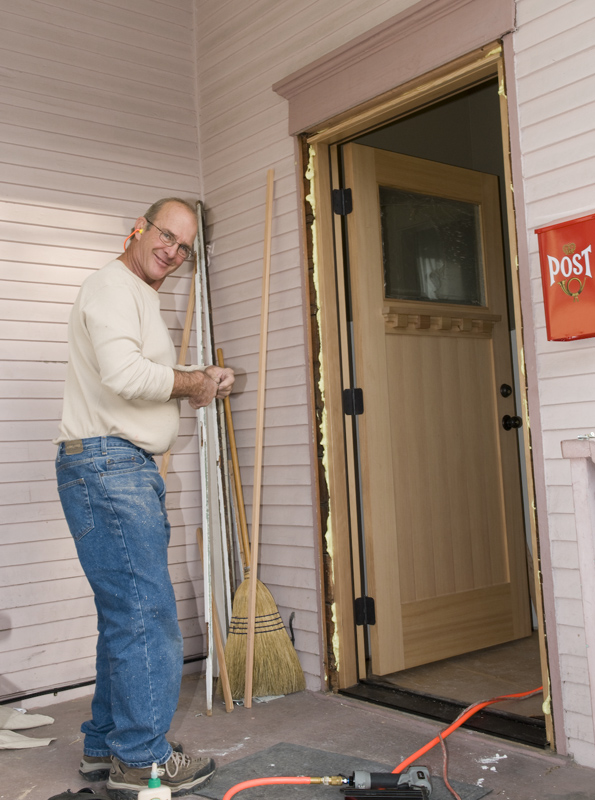
look - here we are hard at work!

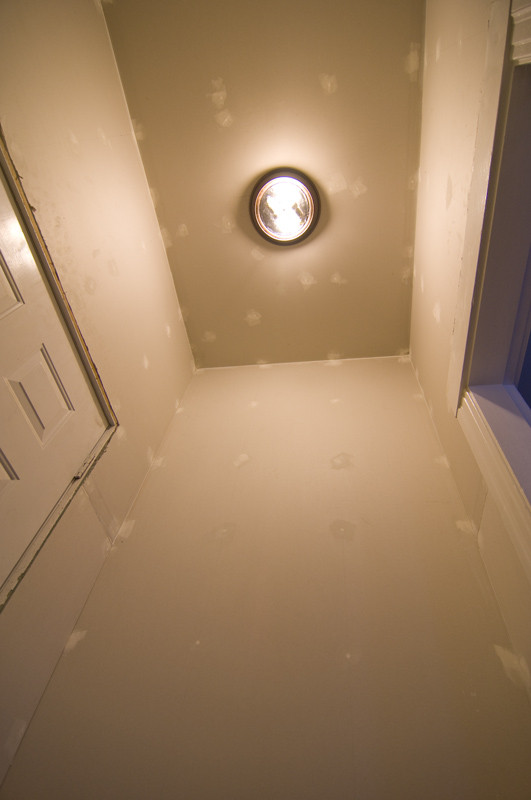
several hours later, we emerged victorious, or at least slightly so. the plaster was all gone. just the good old slats were left. next up, drywalling the ceiling.


small room plus high ceiling made this an extremely challenging task. with one failed attempt and one lost piece of sheetrock, we were a little more generous with our cuts. we shimmied the next piece up...almost to its resting place (this was a serious test of arm strength), and with the help of the bottom end of a swiffer, we got it into place. seriously. it was kind of insane and highly awkward. but we got it up there and then brian put in part of the new light fixture.

ceiling!

no, we did not get ourselves a new coffee table.

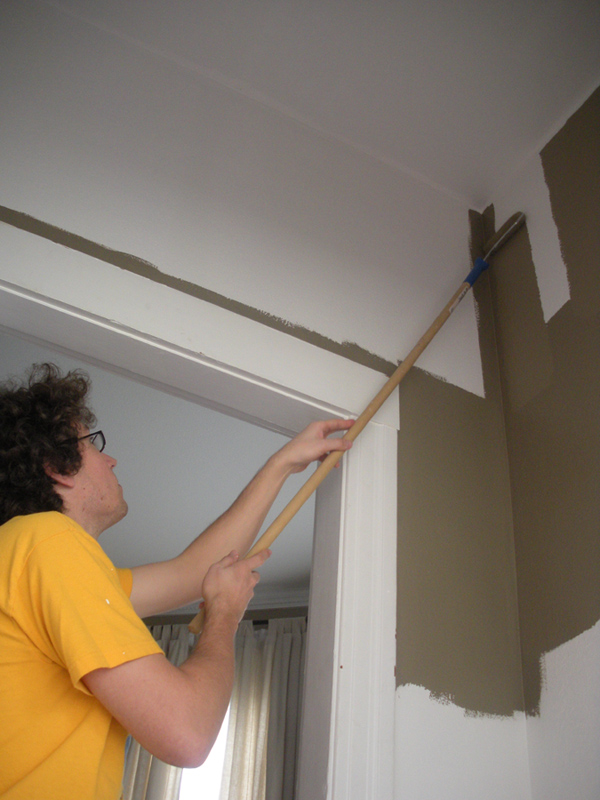
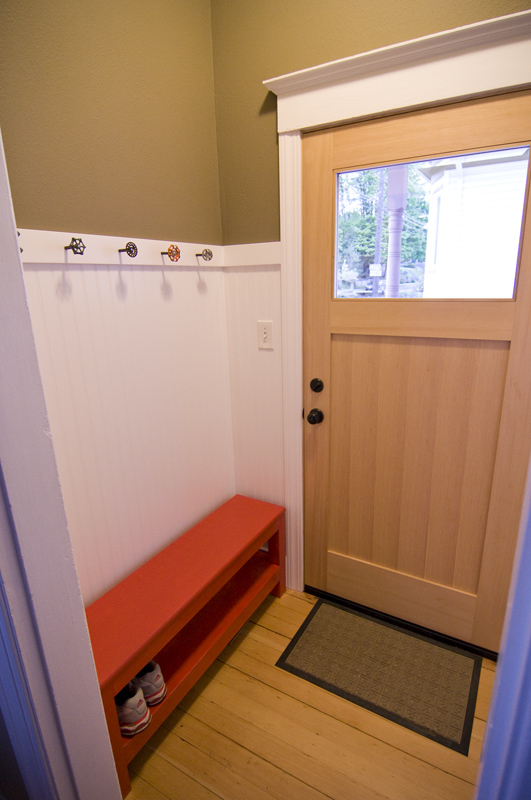
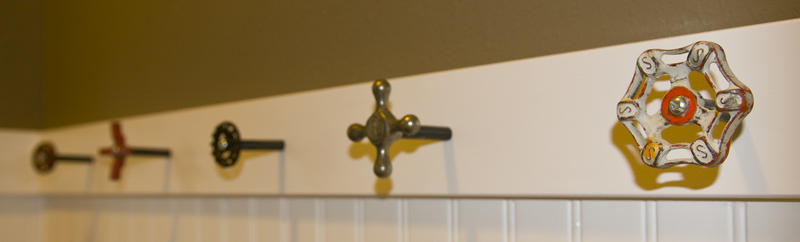
on sunday, we finished up with the drywall. after we got in the pieces above the doors, things moved much more quickly, and our confidence with cutting the sheetrock grew. next up is actually taping and mudding the walls. then on to wainscot, trim, moulding, paint, and more.


here's a horrid shot of us in the newly drywalled space (that's right, it was so bad that i felt compelled to turn it into black and white and blur it a bit). the space is so small and tall, this is all we could come up with. i'm assuming the plaster fumes meddled with our decision making.