in true diy fashion, we decided to use a power drill to carve our pumpkins. after doing a little bit of acual labor, we used drill bits of all different sizes to create a mishmash of holes to let the candlelight shine through. we quite liked the end result.
Thursday, November 5, 2009
the first halloween
in true diy fashion, we decided to use a power drill to carve our pumpkins. after doing a little bit of acual labor, we used drill bits of all different sizes to create a mishmash of holes to let the candlelight shine through. we quite liked the end result.
Tuesday, October 27, 2009
Now that you've already seen the final product...
So I know you've already seen the final pictures of the bathroom, but it took us (Clint and Lindsay) a lot of work to get there, so I thought it'd be a good idea to share some photos from that.

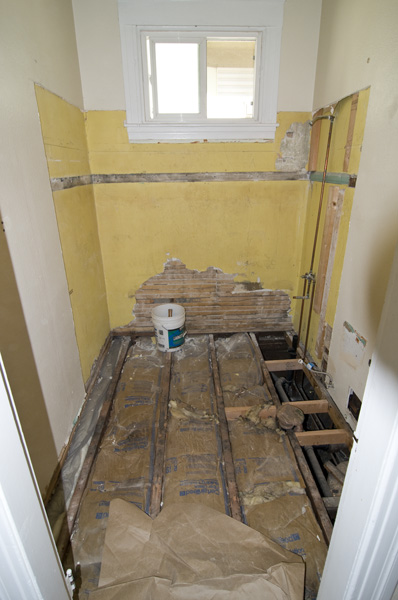
So the floor was rotten because the genius who decided to stick the toilet where it is decided he should cut a beam and not support it. What happened as a result is that the toilet leaked whenever a great deal of weight was put on it. We solved that by bracing it and adding a support in the crawlspace for the end of the hanging beam.

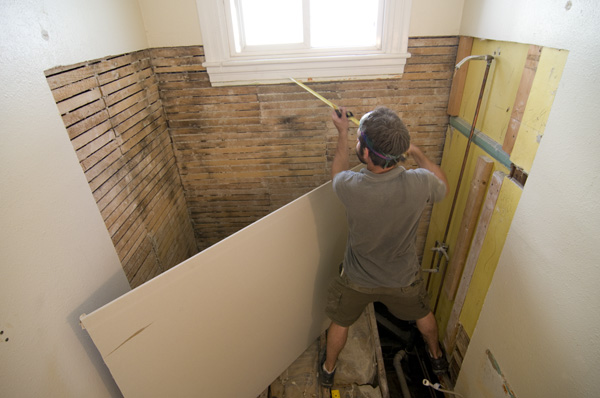
This is a photo Clint standing on the remaining beams and measuring sheetrock.

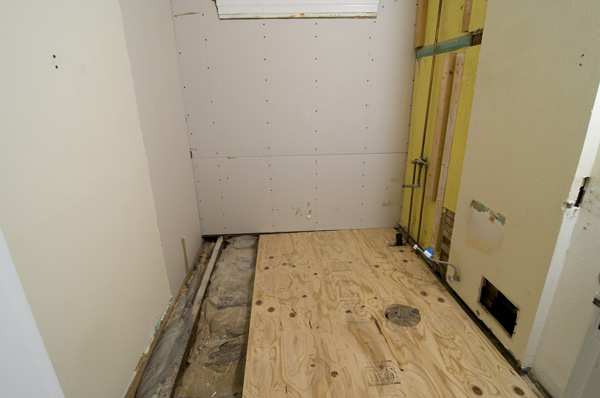
Floor! Our brand new piece of subfloor, and sheetrock over the slats of course.

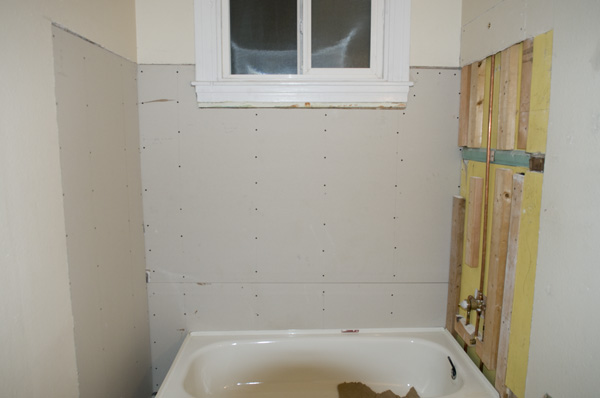
Not the final product, but some more sheetrock, a tub and updated plumbing!
ooh, a living room
rewind even further, and you'd see the effort that went into preparing for this day. we decided to take down the unpleasantly dated mirror above the fireplace. at first, we thought it was an original, charming feature. turns out, it definitely wasn't original, so we didn't feel so bad about removing it. then, brian reinforced the wall (wood slats) with some plywood before drywalling it.
i believe we had a few beers, so why not take down the mirror?
wood slats behind the plaster (that was behind the mirror)
plywood's up
drywall! a nice small area to test our skills.next phase will involve doing something about the fireplace
Monday, October 19, 2009
back to el bano
Tuesday, October 6, 2009
beginnings of a bathroom


Saturday, September 19, 2009
Refinishing the Floors
Our first goal in home restoration was to refinish the floors to their original glory. We had refinished a floor before in our life and thought this was going to be a breeze. We were wrong to say the least. There was probably about 100 years of dirt, varnish, paint and stains on the floor throughout the house.
Armed with 34 grit sandpaper, I took my first swipe at the floor. My piece of sandpaper gunked up with the junk from the floor while only clearing off about a square foot of floor in about 5 minutes time...this wasn't going to work like we thought it was.
After discussion with our friends Libby and Eric, we discovered that we needed to get the junk off the floor as best we can prior to sanding it down. This involved spreading Stripper (essentially a form of paint thinner) on the floor, letting it sit for 20-30 minutes and then scrapping off a layer of oozing, jelly-like gunk. To say the least, this was the most disgusting house project to date.
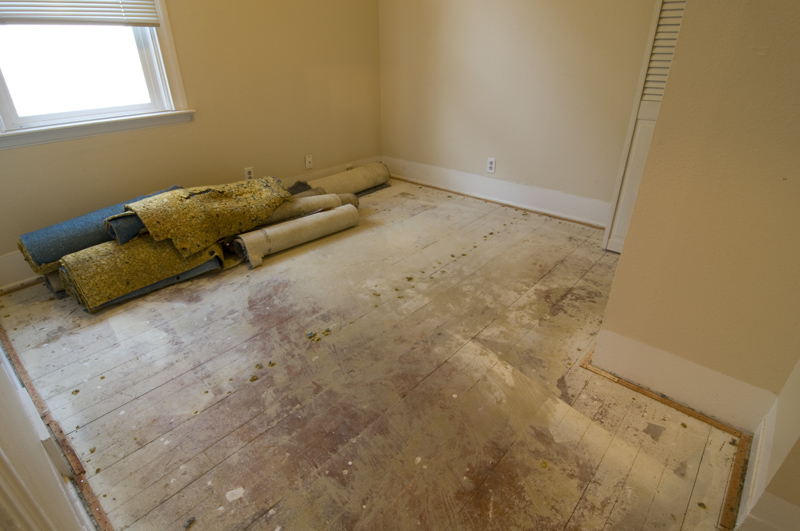
The guest room after pulling up the carpet. You can see the white spots on the floor. We believe that someone sprayed pieces of wood or something with white paint or plaster without bothering to put down a barrier to protect the floor.
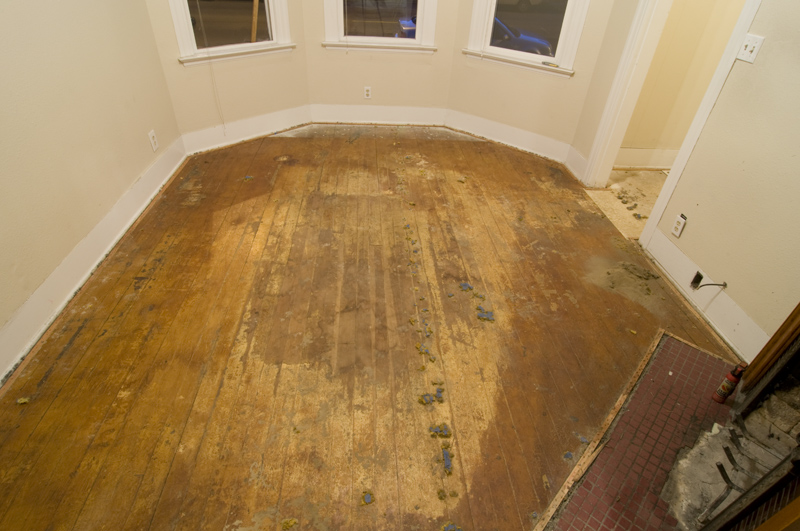
The living room. You can see a very well worn spot in the middle which looked as if it never received a coat of varnish back in the day. They probably had a rug to go in the center of the room to cover the spot they didn't varnish.
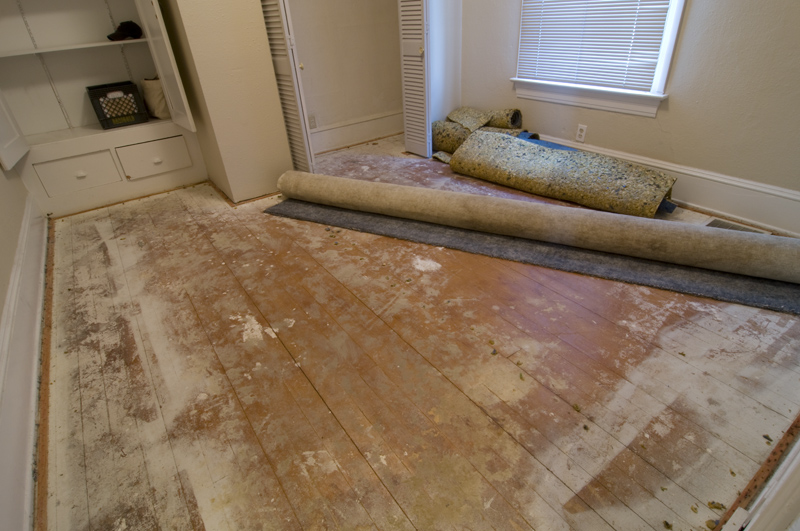
The main bedroom, once again with white spray spots on the floor.
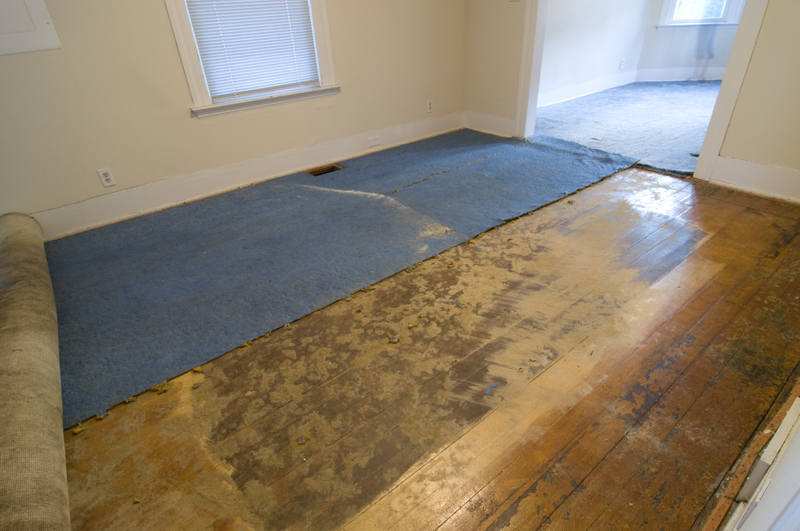
The dining room, note the dark spot in the middle of the floor where it looks like a rug sat and they were too lazy to varnish the entire floor. No complaints really because that section of the floor was easier to sand.
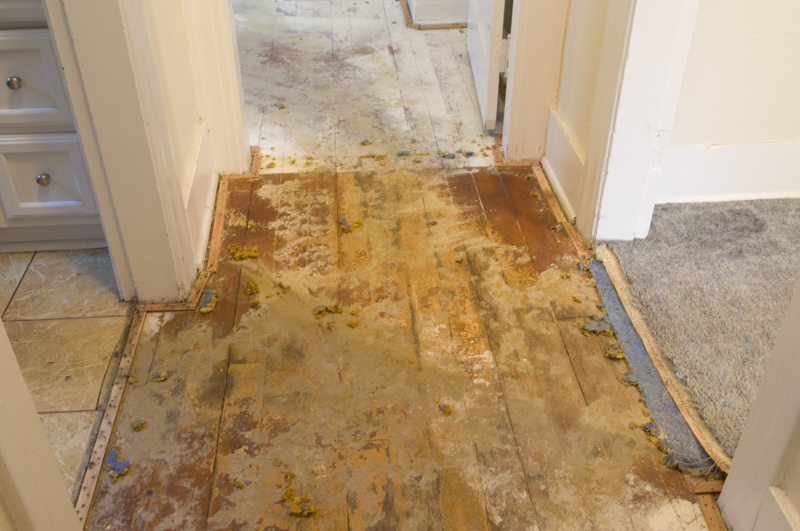
The space right outsdide of the bathroom had tons of wear and tear from years of water and traffic.
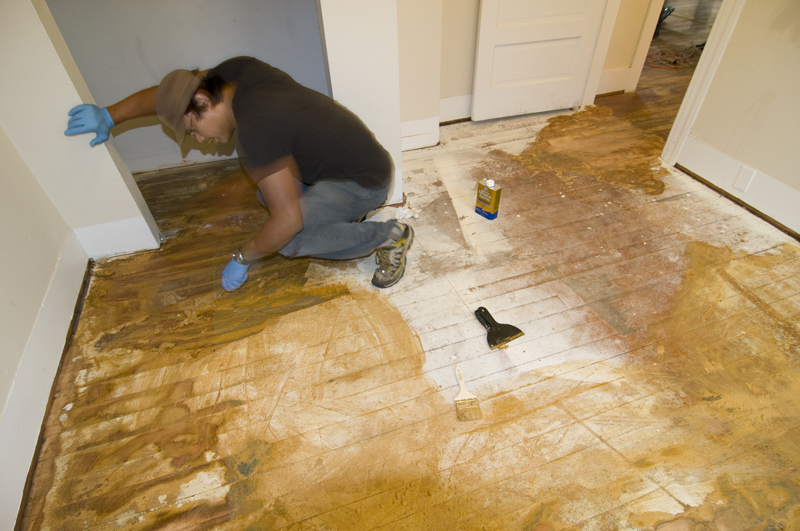
Eric scraping off the floor using the stripper.
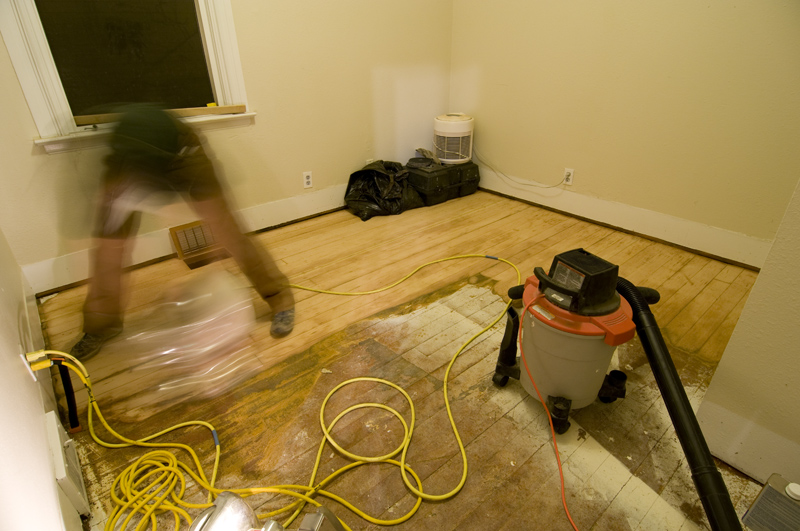
Allie using the edge sander.
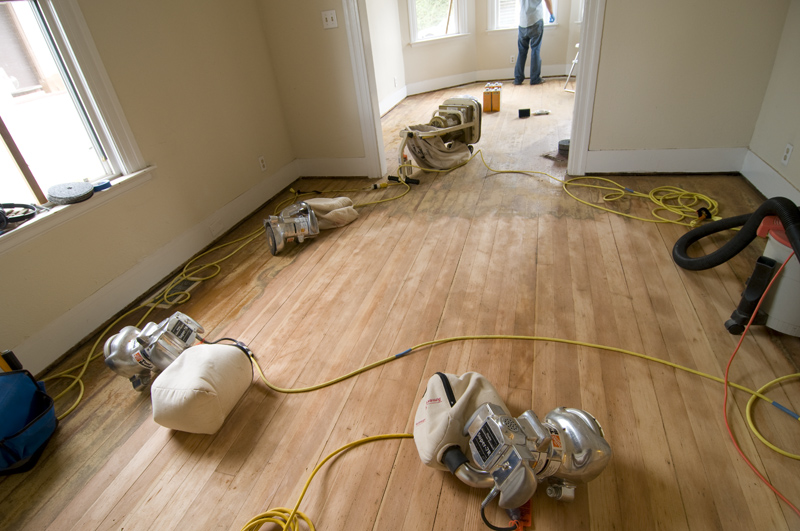
The dining room, mid way through its sanding.
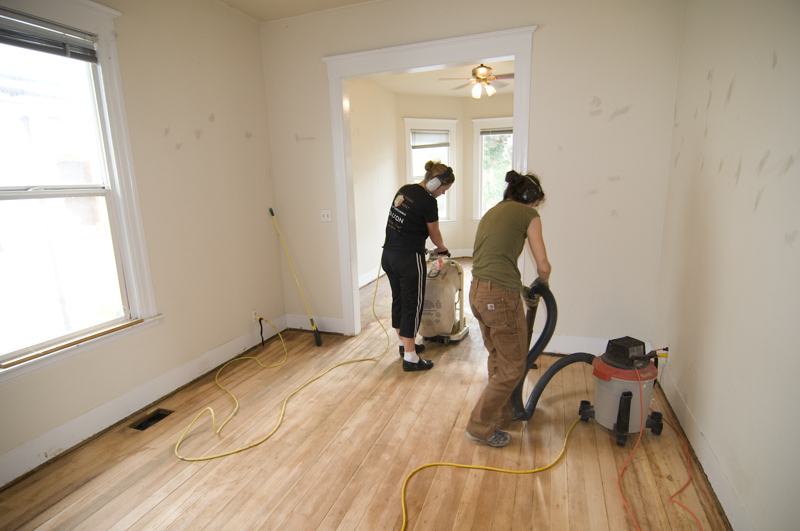
More sanding and vacumming.
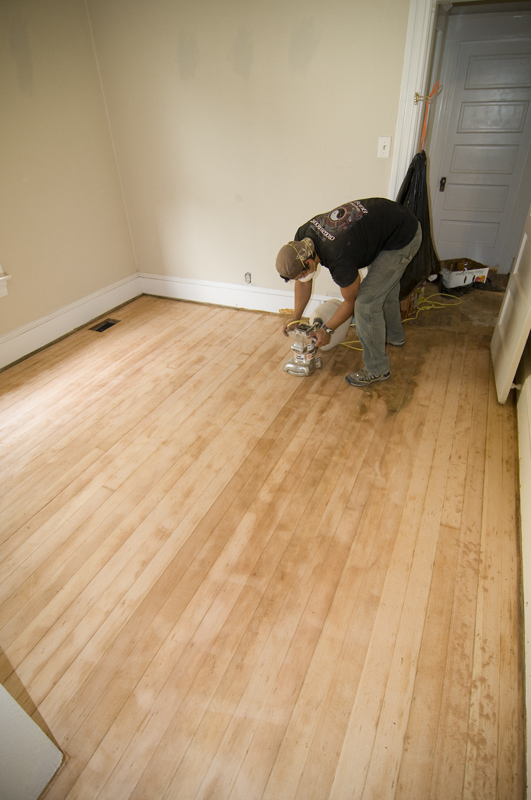
Eric sanding down the main bedroom.
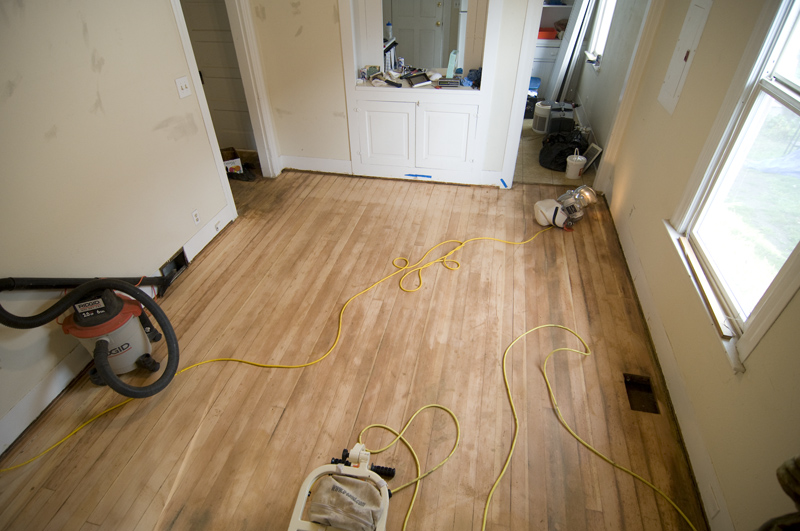
The dining room after a good amount of sanding.
We eventually put on three coats of a water-based polyurethane with a satin finish to protect the floor. It looks fairly nice, but we don't have any pictures of it because we were quickly rushed into another project - the bathroom! We covered up the floors to protect them and haven't see too much of them since completing the finish. We'll post up some photos when we uncover them.
Wednesday, September 16, 2009
So we bought a house
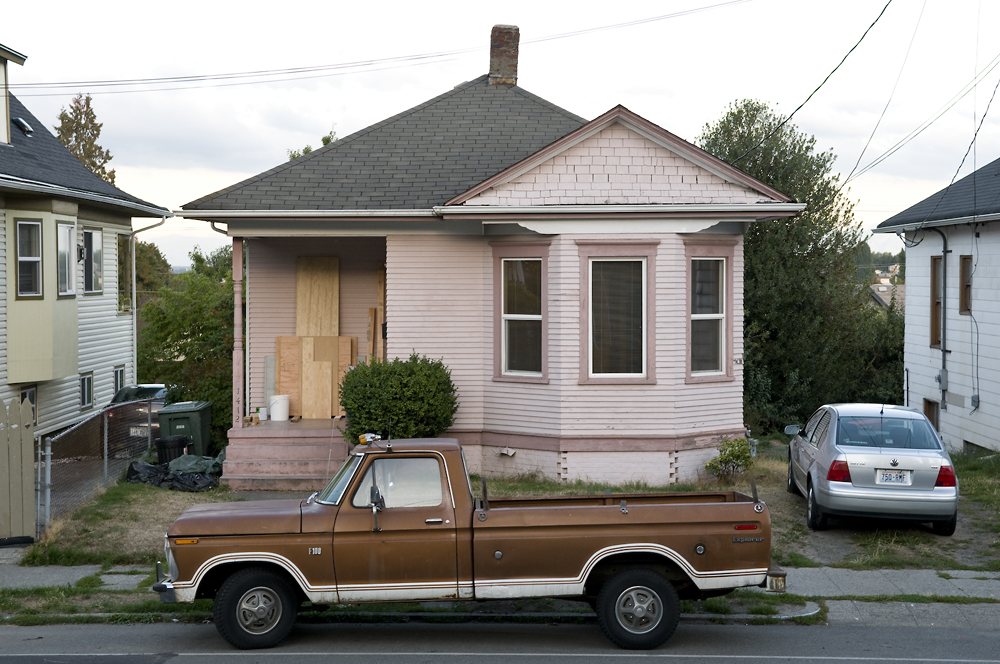
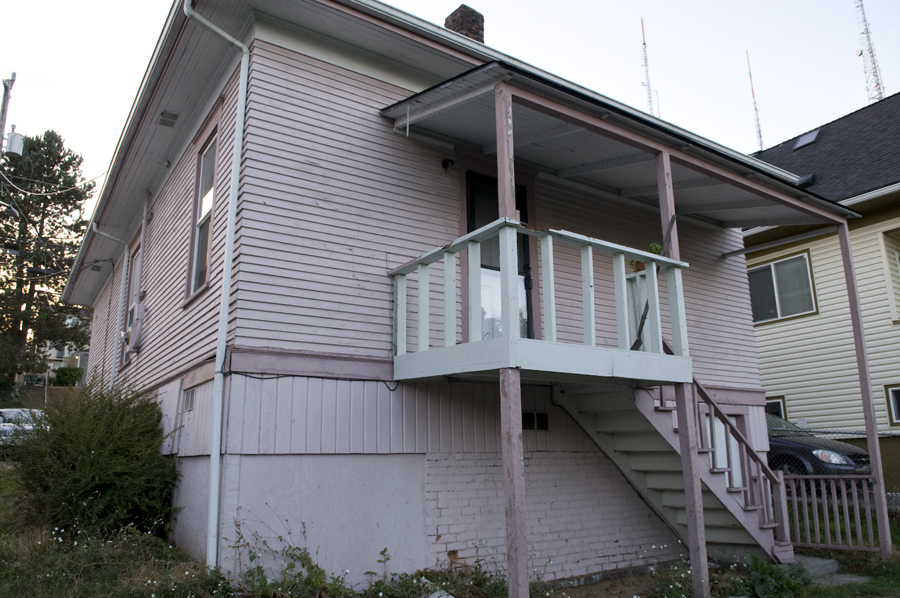
Allie and I bought a house near lovely Capitol Hill in Seattle. It's an old house to say the least, it was originally built in 1903 and has sustained a few remodels in its lifetime. Oh and it's pink! But it's in need of a good coat of paint.
Let me take you for a tour as it was when we bought it a couple of weeks ago:

Our Pink House

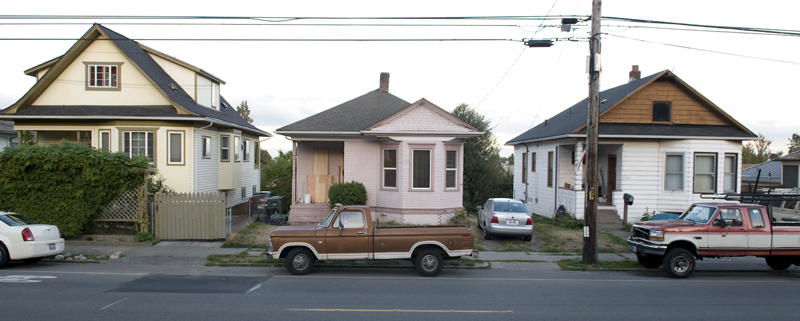
Our neighbors

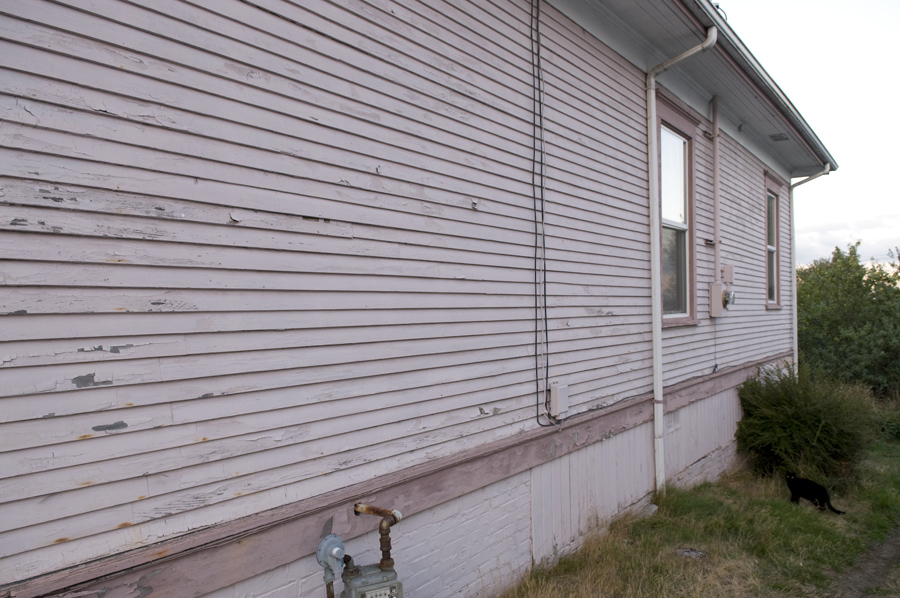
Clearly, the house needs some painting

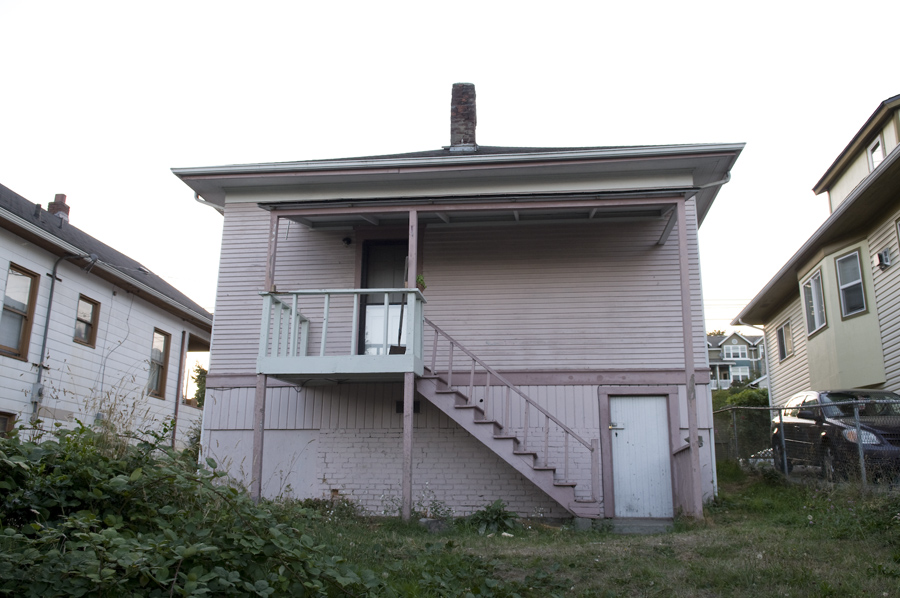
The back of the house with the very unsturdy porch

Another view of the back
Okay, let's go inside!

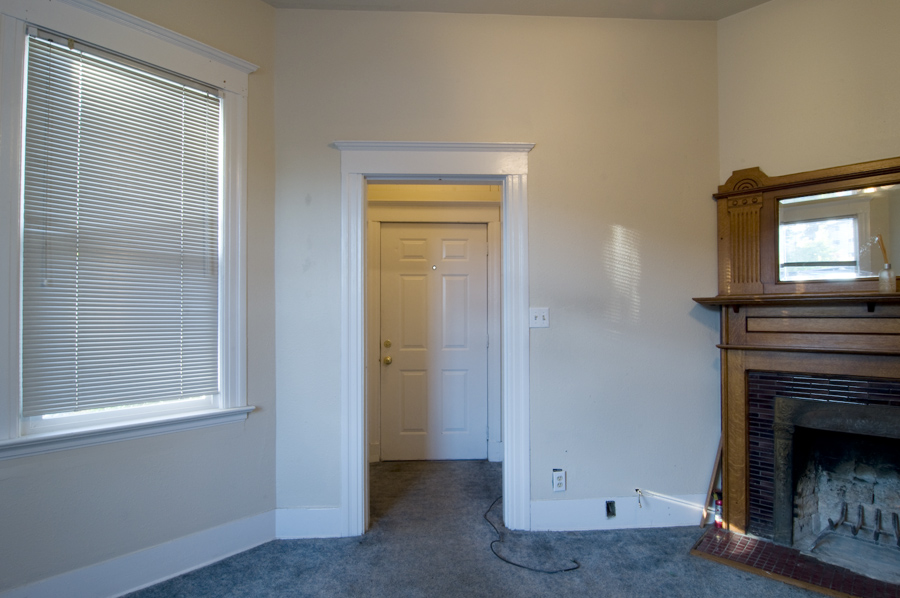
The entry way as seen from the Living Room

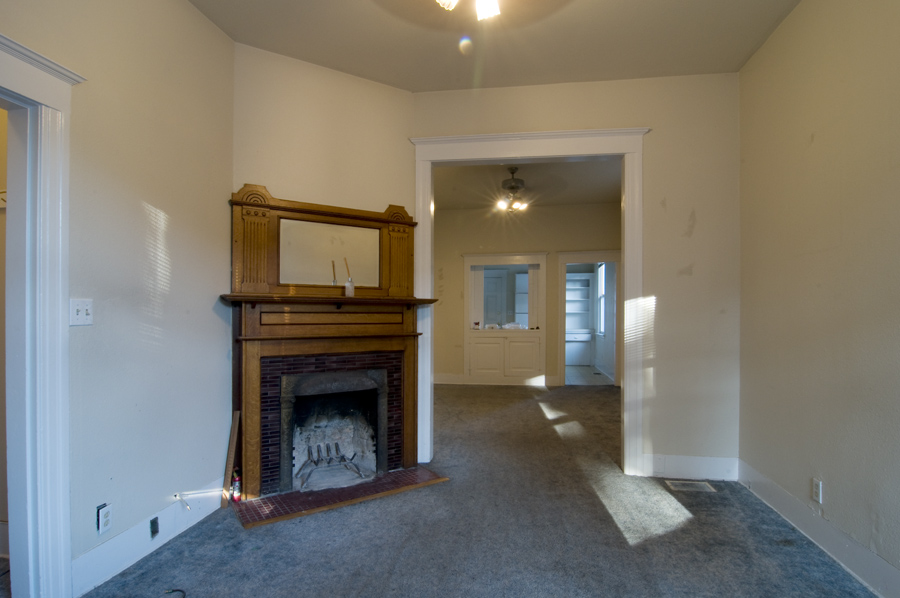
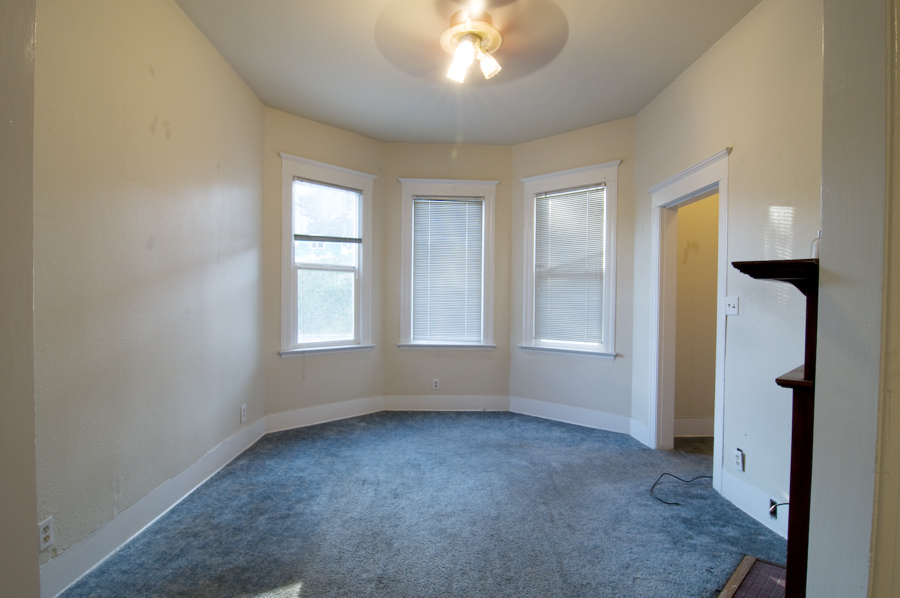
The Living Room. We believe that the fireplace is not original
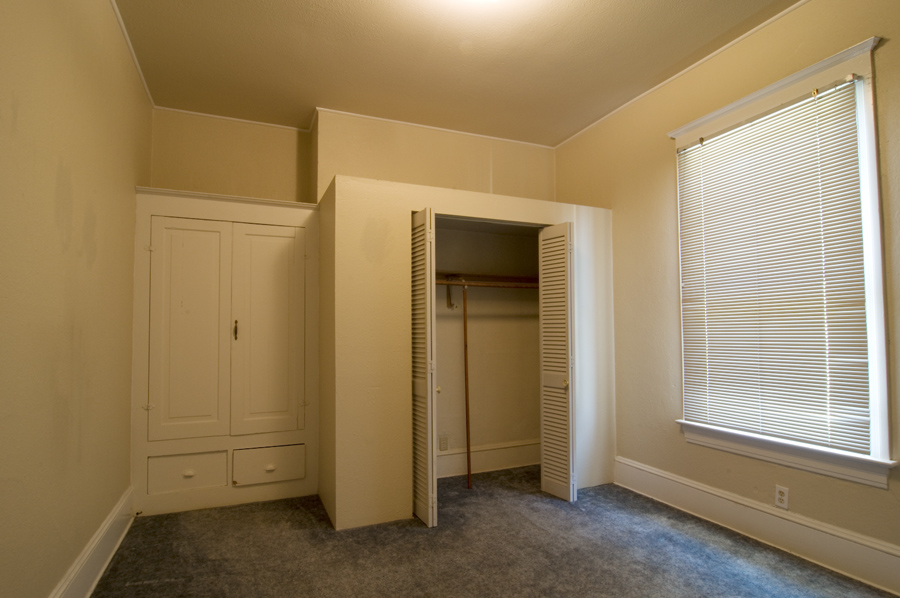
Another view of the living room

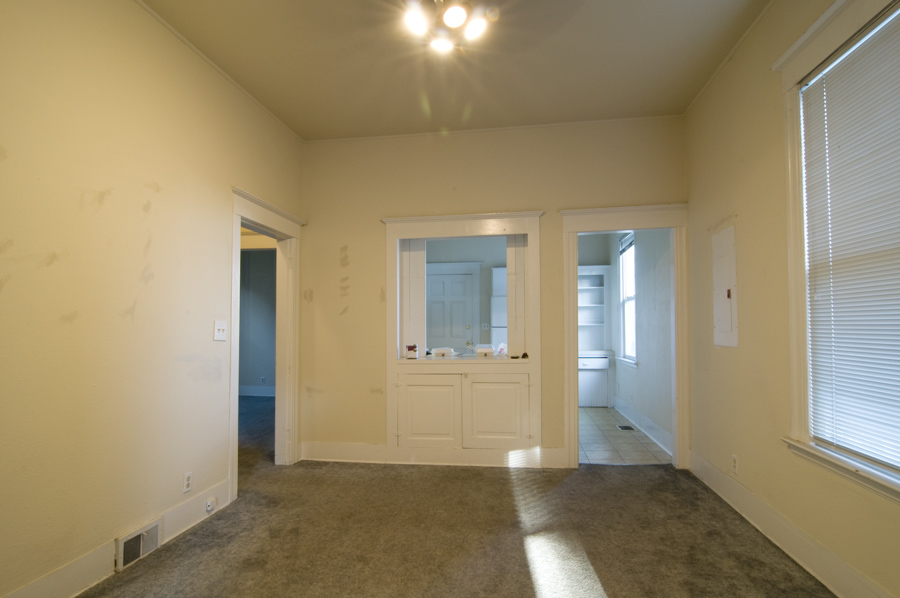
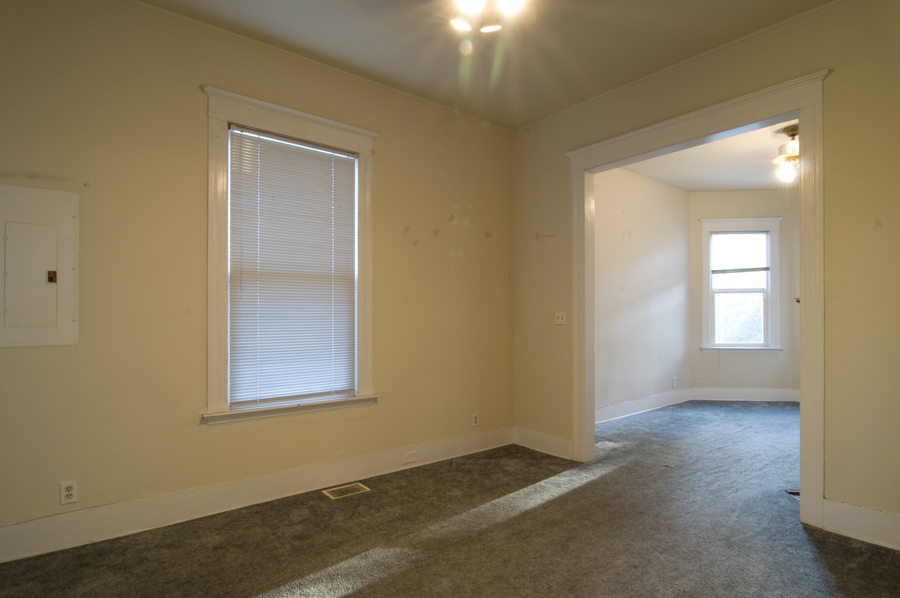
The Dining Room

Another view of the dining room

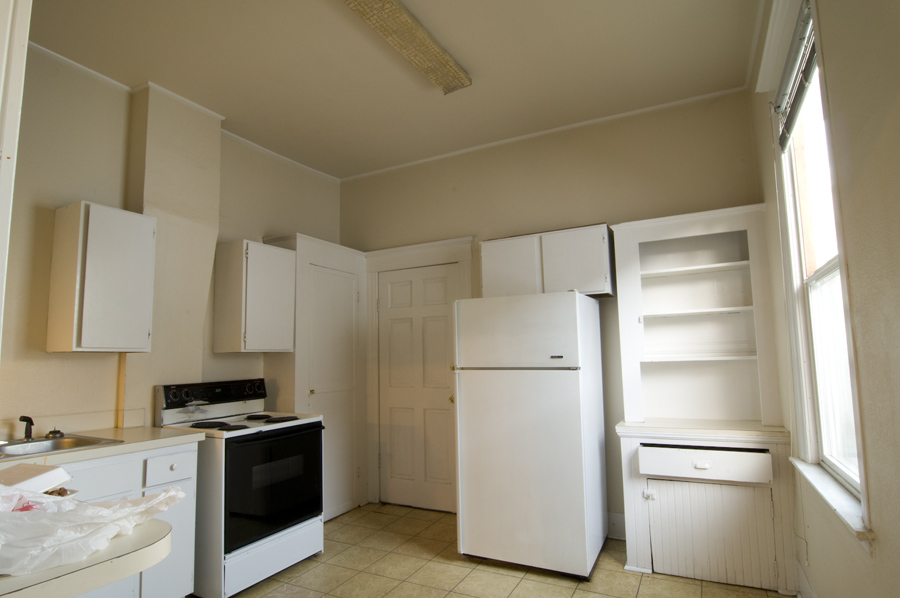
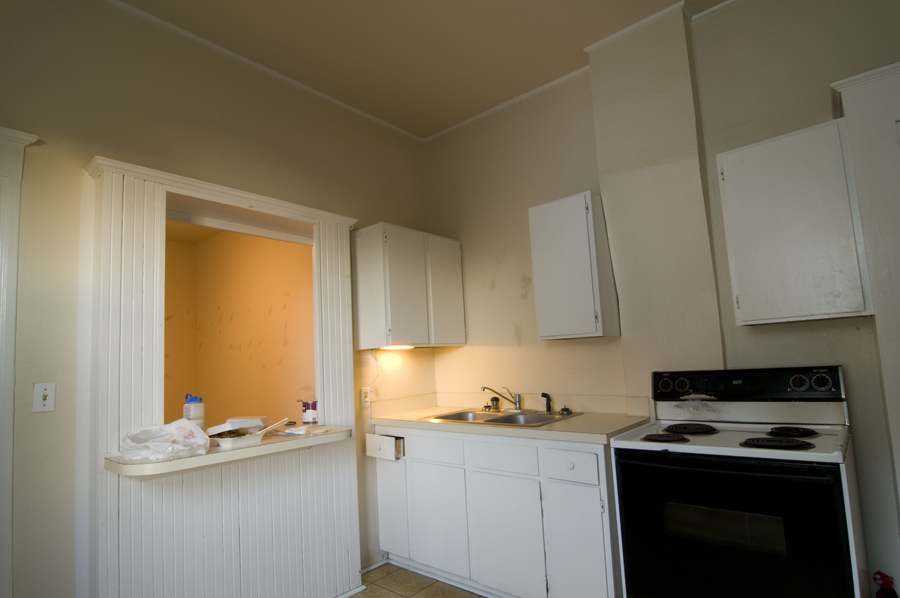
The kitchen

The kitchen, looking back through the passthrough at the dining room

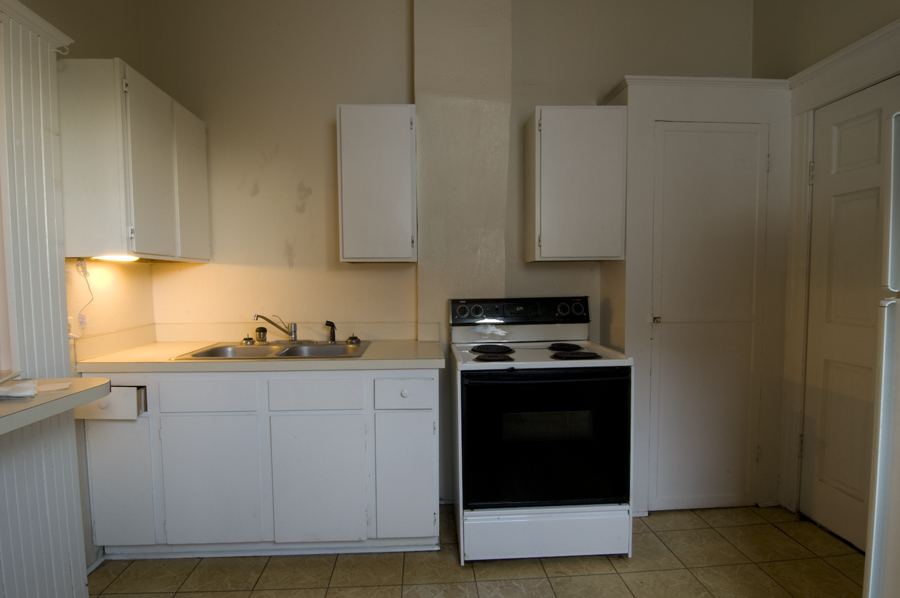
The kitchen again

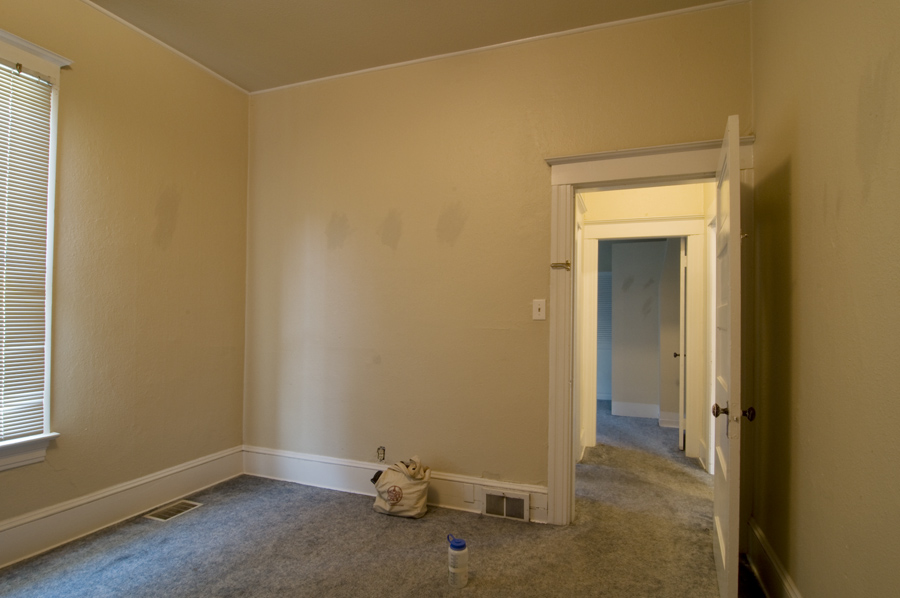
The "master" bedroom (it's not that large to call it a master really)

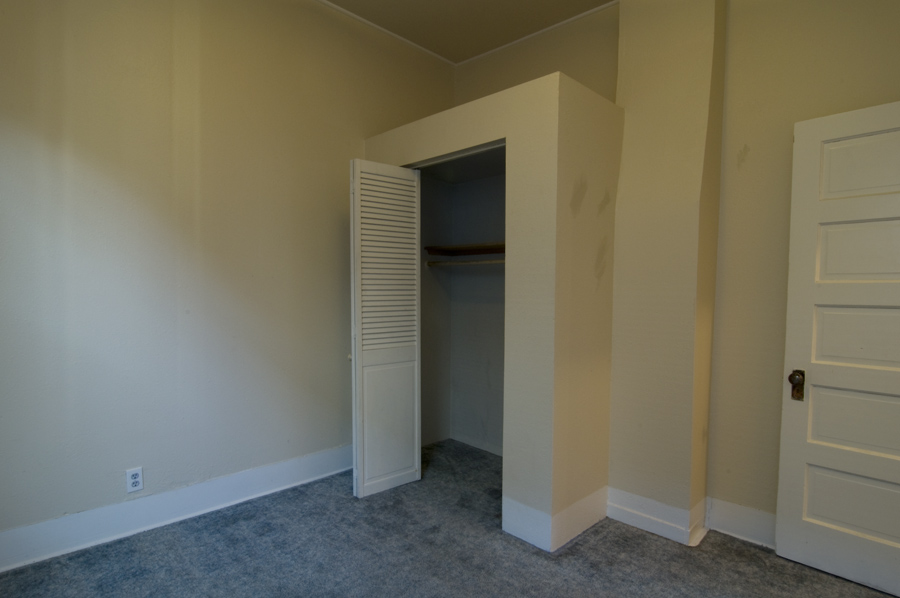
Closests were added in both of the bedrooms at one point, a nice feature

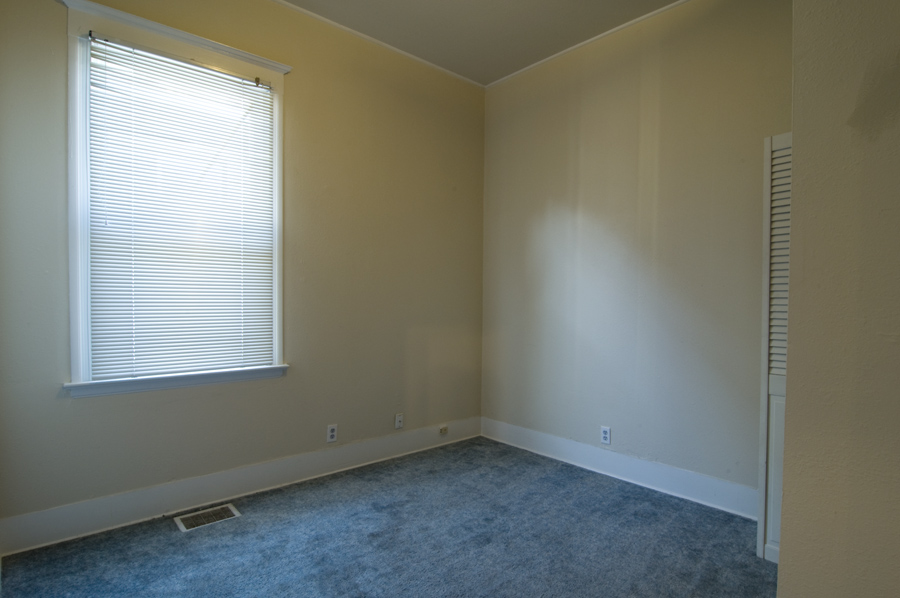
The guest room/office

With closet!

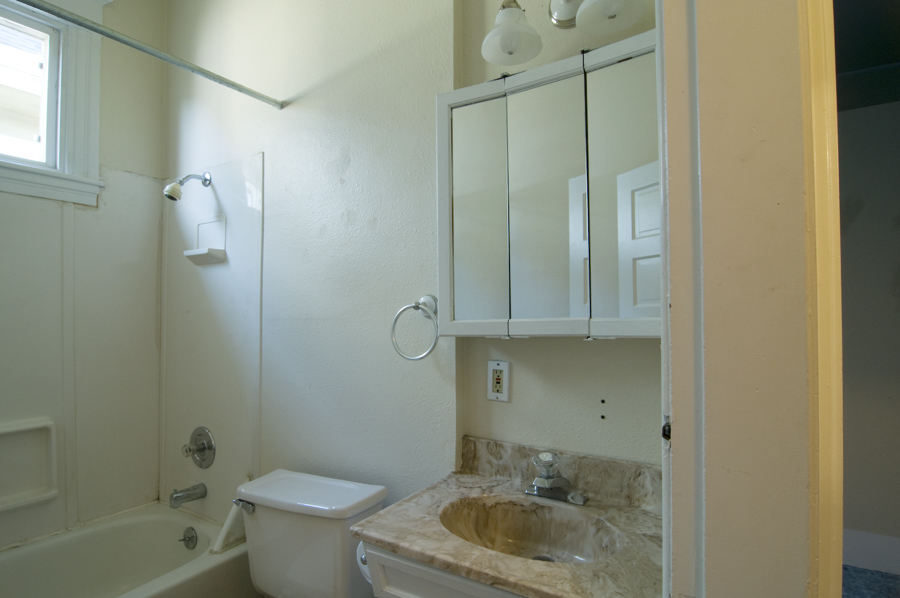
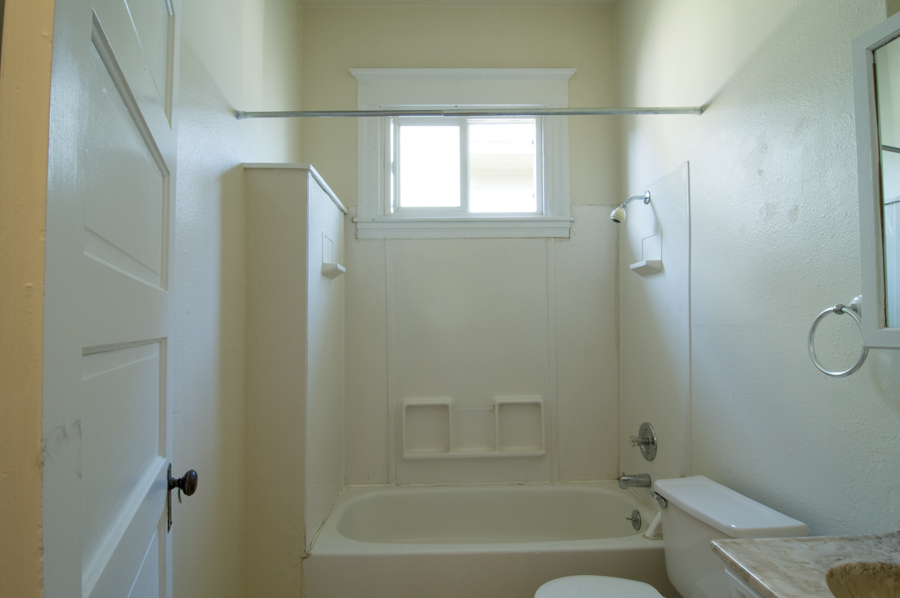
The lovely bathroom

Another view of the bathroom, one of our first destinations on home remodeling